POCOPOCO JOURNAL
How long is a circular needle? Check what the label includes
An interchangeable cable label may describe the assembled needle including both tips, or the cable alone. Check the definition for that product before comparing its numbers.
About 3 minutes to read
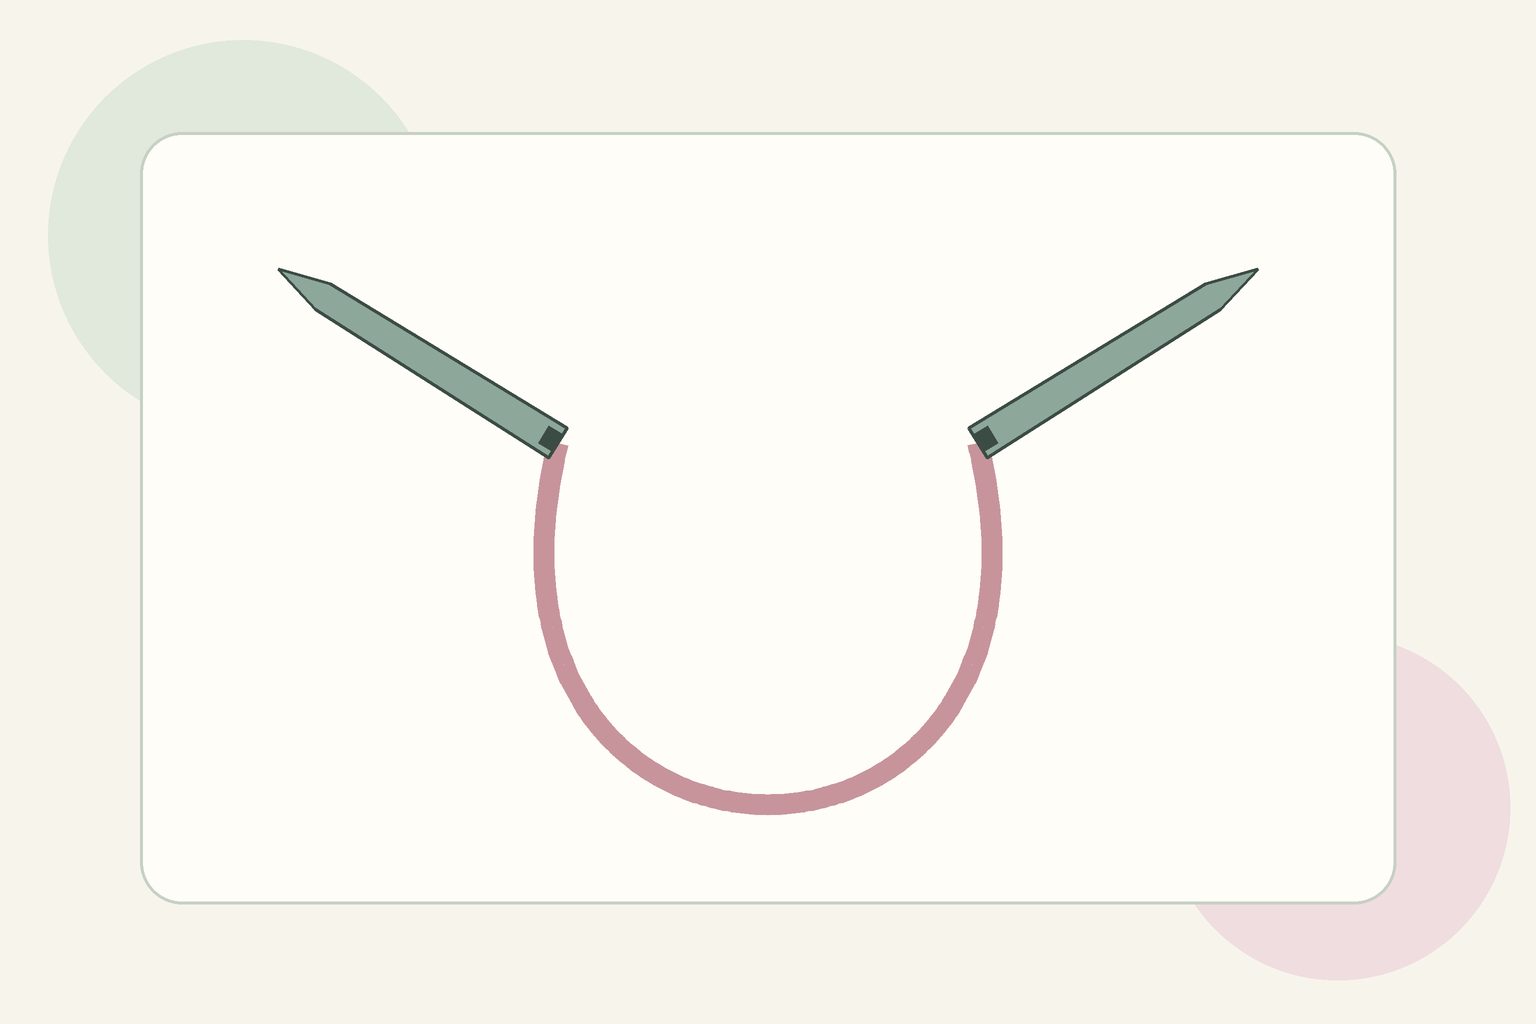
When preparing a circular needle, do you assume the length on the packet describes only its cable? A label may refer to the whole needle with its tips attached, or to a replacement cable on its own. Today, check what the number means for one tool you have. Here, cable means the flexible cord joining the two knitting needle tips, not a cable stitch pattern. The diagram distinguishes parts; it is not a measurement of real equipment or an assembly procedure.
Read needle diameter and tool length separately
Open your pattern’s tools list and identify its circular needle requirement. Instead of combining diameter and length into one vague size, note their respective numbers and units as written. Today’s question is which parts the length includes; keep it separate from deciding fabric dimensions or stitch counts. Match the actual packet or product name too. Identify whether you have a fixed circular needle or an interchangeable system in which you select tips and a cable. If you discover you were reading about a similar tool, pause and identify the product again.
Find the maker’s definition of the label
KnitPro’s cable guide describes the stated length of its interchangeable cables as the complete tip-to-tip length after the needle tips are attached. ChiaoGoo’s FAQ, in contrast, explicitly labels the listed lengths for separately available TWIST and SPIN replacement cables as actual cable length. Do not assume that the same wording about cable length includes the same parts. These examples describe the guidance consulted, not a rule for every manufacturer or all future products. Give priority to instructions that match the particular product in your hands.
Distinguish assembled length before adding tips
An assembled length includes one needle tip, the central cable and the other tip. Read it separately from a cable-only label. Avoid adding two tip lengths again to a stated measurement that already includes them. Likewise, do not treat a cable-only label as the complete assembled needle length. If it is unclear which tips the stated length assumes, check the matching product information. Matching numbers alone does not establish component compatibility or comfortable use. This article does not decide assembly methods or the best needle length for a project.
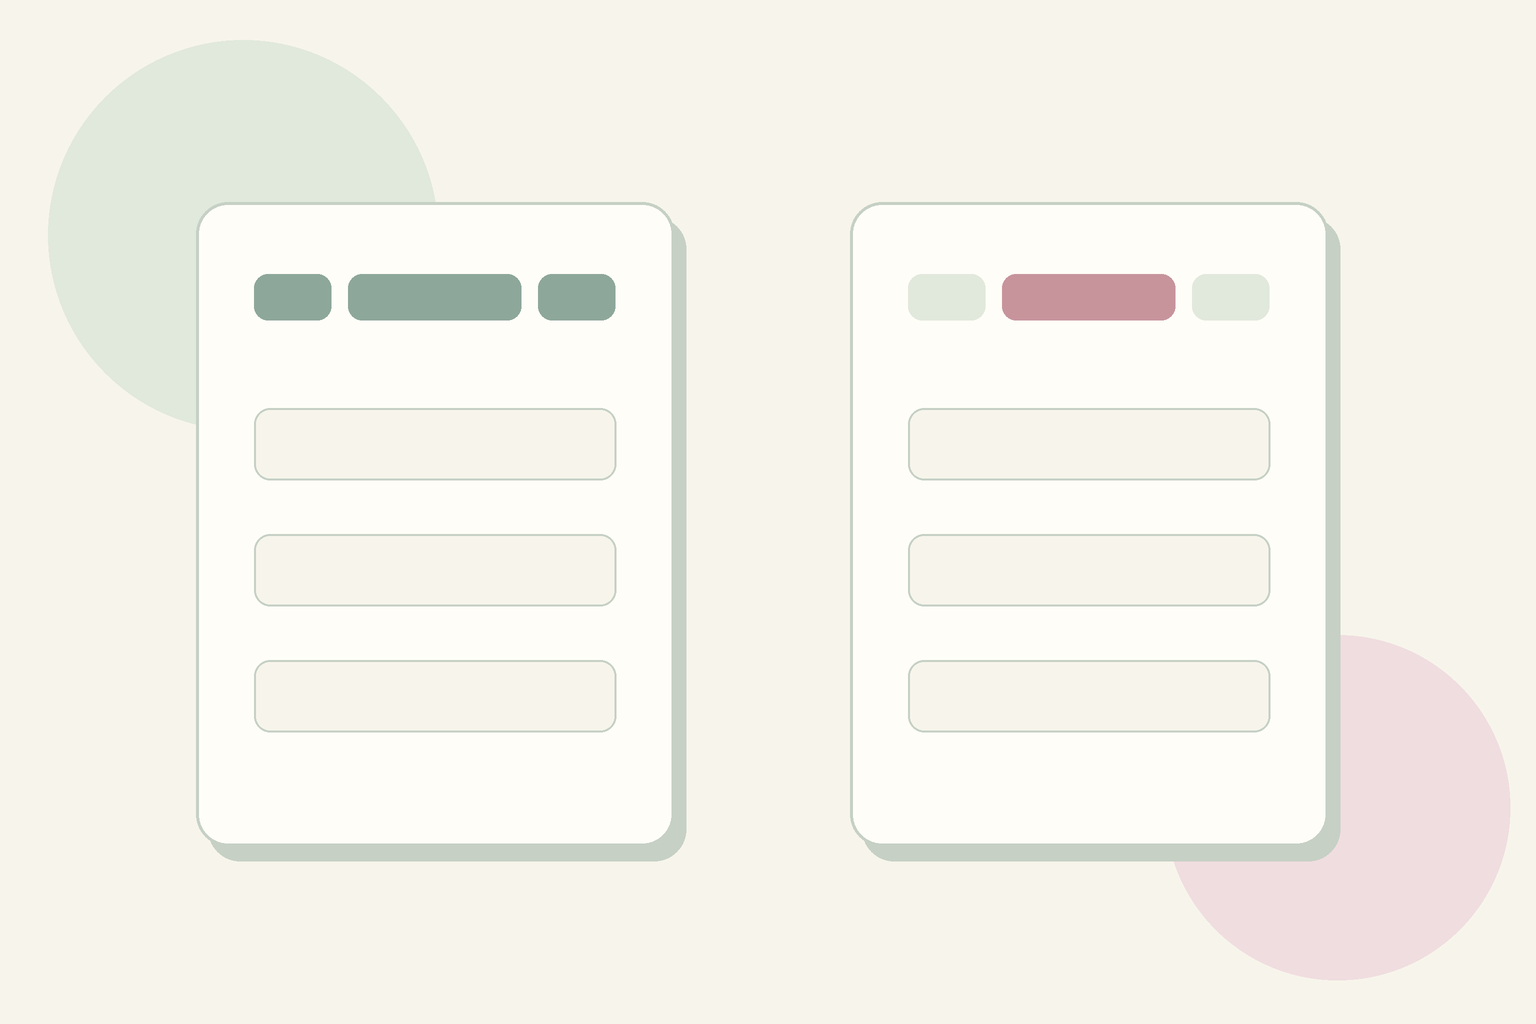
Original explanatory diagram created by PocoPoco with AI assistance. This invented card layout suggests checking label meanings separately. Unprinted cards do not represent product information or confirmed answers. It does not show actual packaging, measurements, connection procedures, compatibility, a stitch chart or an app screen. Keep the original label beside its confirmed meaning
Note the maker, product name or code, original length and units, and the explanation consulted. Beside that record, write whether you have confirmed an assembled length including tips or a cable-only length. This is a suggestion for organising information; it does not require changing the product label. Mark an unresolved definition as unconfirmed rather than filling it from a similar product’s numbers. If you later change tips or cables, check that the old note still matches the new combination. Once the tool question is settled, you can connect it to your wider materials plan.
Next preparation: put the project’s materials plan on one card