POCOPOCO JOURNAL
How many rows are in a garter ridge? Keep the counts separate
In basic flat garter stitch, one complete ridge represents two rows. Check the counting boundaries and any extra completed row, and compare the ridge groups with your record of rows worked.
About a 3-minute read
Are you counting each horizontal bump in garter stitch as one row? In basic garter stitch worked flat, knitting every row, one complete ridge within the fabric represents two rows. That does not mean that doubling every visible line always gives the exact pattern-row total. Today, distinguish the visible ridge groups from the rows you have actually completed, and record both clearly. This check does not extend to knitting in the round, crochet, or other stitch patterns.
Treat a row and a ridge as different units
Here, a row is one pass worked across the fabric from edge to edge. In the Craft Yarn Council’s basic flat-knitting instructions, working the last stitch completes one row; turning the work prepares for the next. Turning alone does not complete another row. A ridge is a raised horizontal grouping in the fabric. Knit Picks describes basic flat garter as knitting every row and identifies one ridge with two rows. First read whether the pattern specifies rows or ridges. Do not treat equal numbers with those different units as the same instruction.
Keep the same face and a known starting point
Choose one face of the fabric and follow its ridges up the height. Do not flip halfway through and switch to the bumps on the other face. First establish which section of the pattern you are counting and where it begins. Within a confirmed section, completing three pairs of two rows means six rows. Separate boxes for “three pairs” and “six rows” can help you check the units. This is arithmetic for confirmed completed rows, not proof that three ridges in a photograph always mean six rows for the entire piece.
Check the edges and an extra row separately
A cast-on or bind-off edge can resemble a ridge. Modern Daily Knitting explains that the cast-on method can affect the edge’s appearance and how ridges are counted. Do not always include or always exclude an edge; check where your pattern starts its row count. You may also have completed one more row after finishing a pair. If your record confirms one completed row after the six above, the total is seven. Do not add a row you have not finished. Keep any uncertain edge or final row separate rather than resolving it from the ridge count alone.
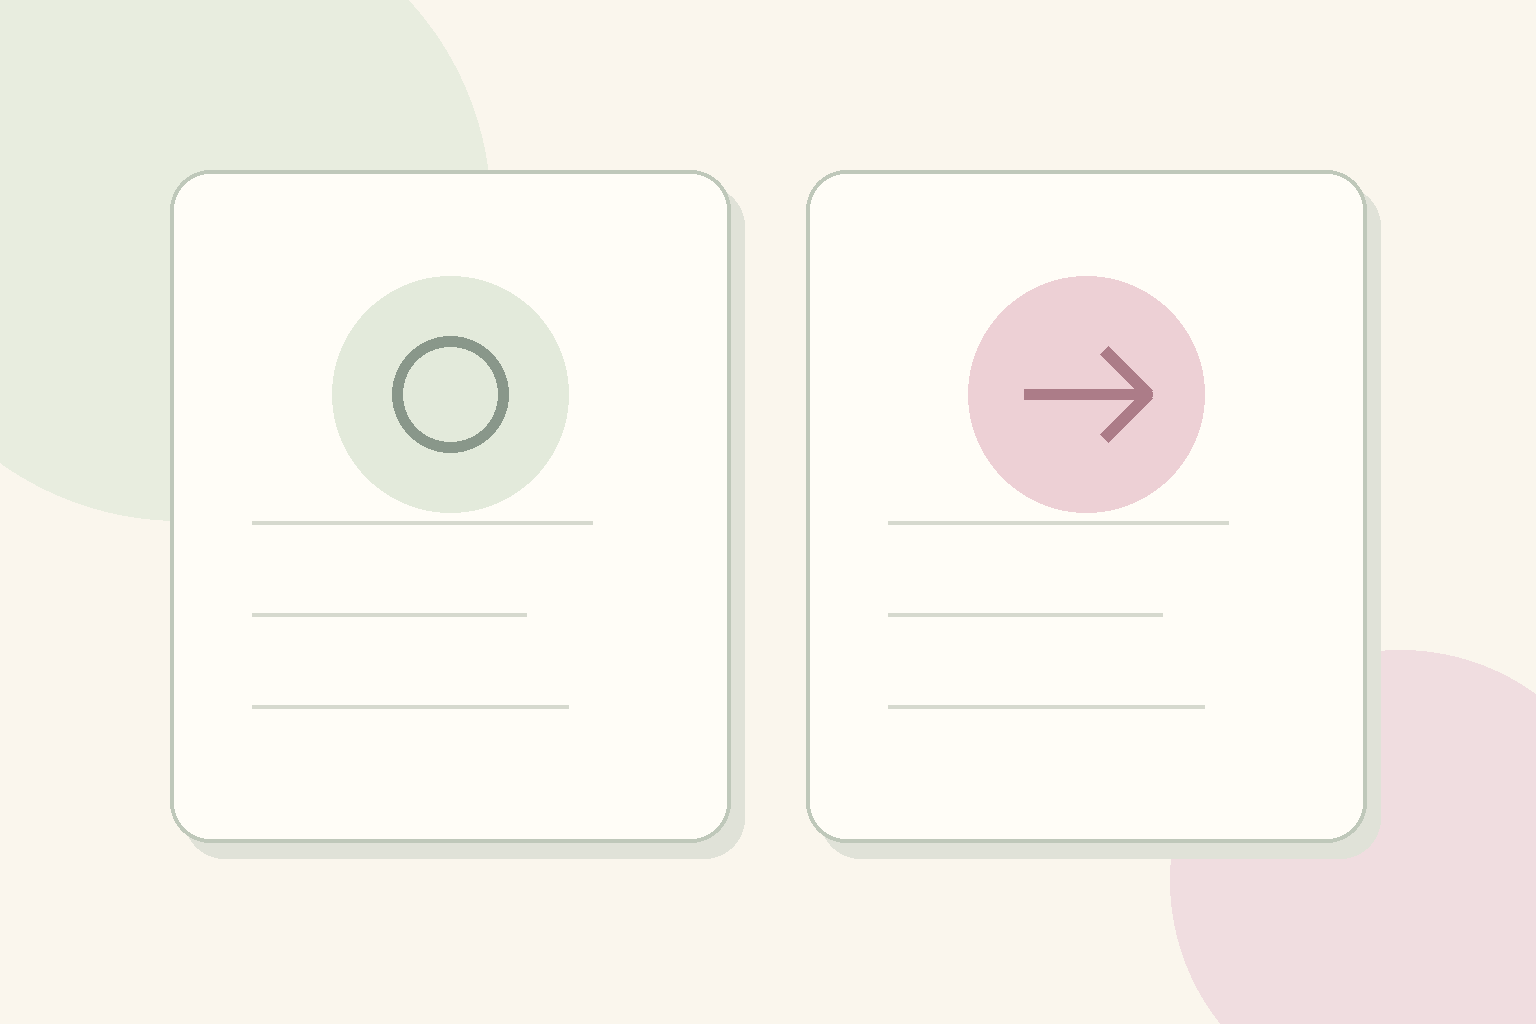
An original explanatory diagram created by PocoPoco with AI assistance. The circle and arrow are note symbols for completed and next rows, not knitting directions. Blank fields do not show actual row counts or confirmed progress, nor actual stitches, stitch charts, working instructions, measurements, or an app screen. Record completed rows separately from the next row
Note the counted section, the face examined, completed rows, and the next row. If you confirm seven completed rows, write “seven complete; next is row eight.” Do not increase the completed total for a partly worked row; record the stopping place separately. Include the pattern’s RS or WS label if specified. If your notes and fabric disagree, revisit the starting point and edge convention instead of changing the number to suit. When unsure, retain the question and check the designer’s or publisher’s explanation before continuing.
Next check: the pattern’s RS and WS and a marker for the face you examine