POCOPOCO JOURNAL
Mark the start of a continuous crochet round
In continuous crochet rounds, put a removable marker in the first completed stitch. Keep the marker you move each round separate from your record of completed rounds.
About a 3-minute read
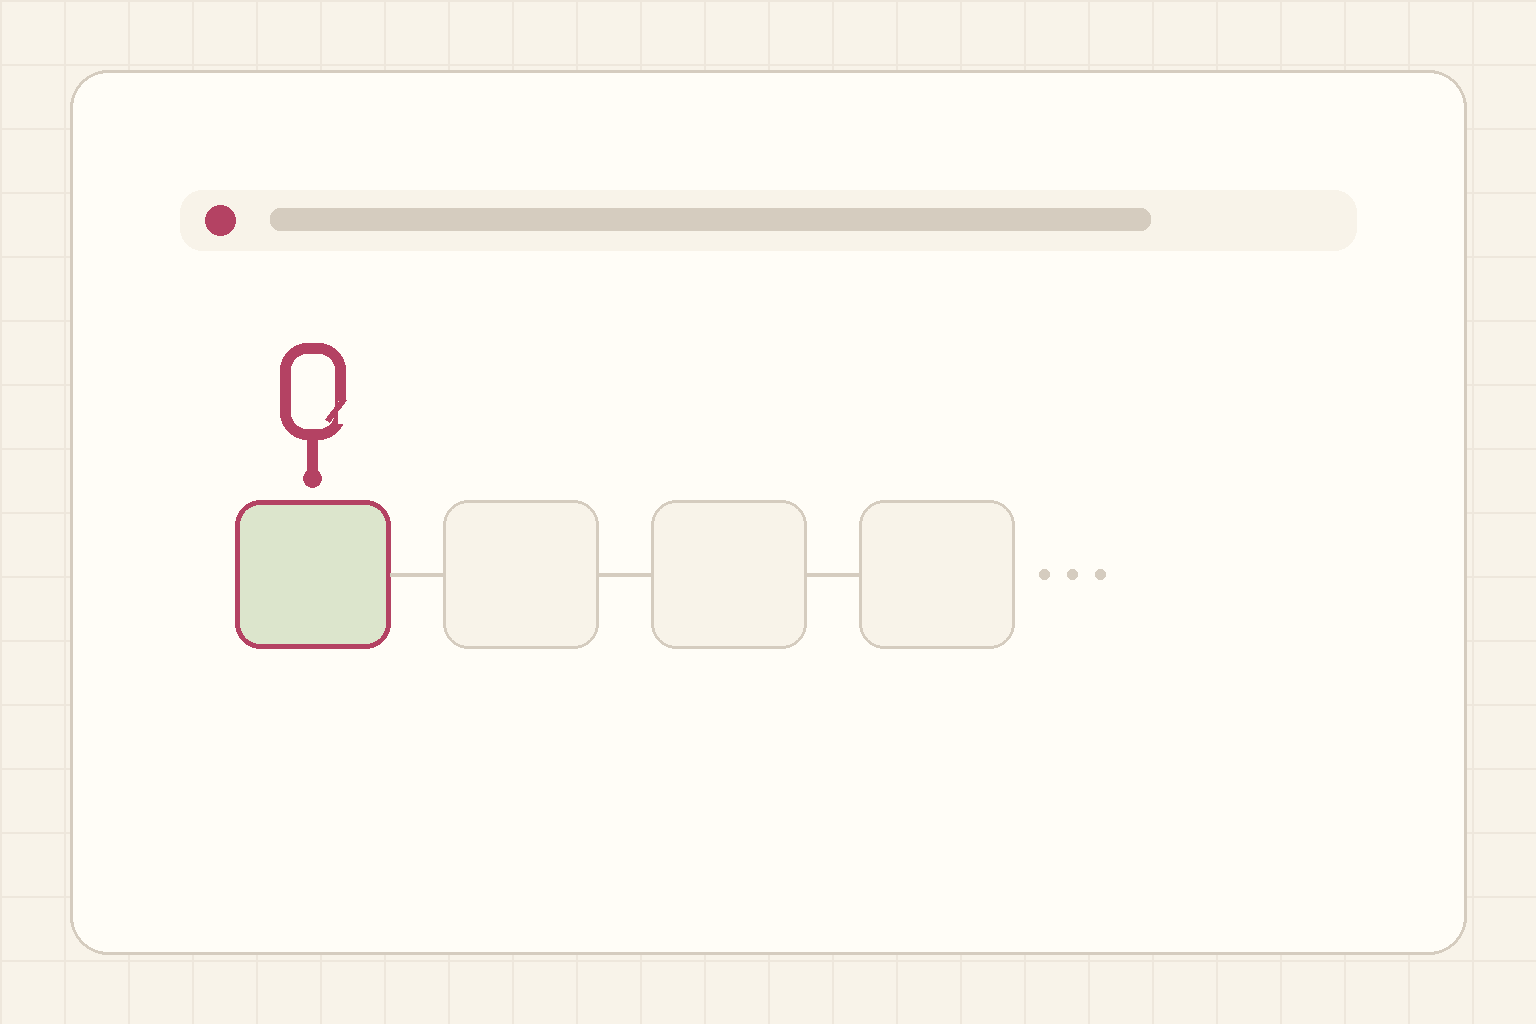
When you crochet in a continuous spiral without joining each round, you may wonder where the current round began. A stitch marker gives you a reference for finding that starting point. Having a marker attached, however, is different from knowing how many rounds you have completed. Today’s small checking routine combines a marker moved from one first stitch to the next with a separate record of your rounds. It does not teach a new project or a method for starting one.
First check that the pattern calls for continuous rounds
Read the pattern notes and each round’s instructions to establish whether you work continuously without joining every round. The method described here marks the first stitch of each round. Do not change a pattern worked in joined rounds into a spiral on the basis of this article. If the pattern asks you to mark a different stitch, follow that instruction instead. Before starting, find which stitch you will mark and where the round ends. Check the designer’s explanation for anything that remains unclear.
Use a removable marker in the first completed stitch
For a marker attached to a crochet stitch, use a stitch marker that opens and can be removed. Distinguish it from a closed ring that cannot open. After completing the first stitch of the round, attach the marker to that completed stitch. Keep the working loop on your hook distinct from the stitch you have finished. The marker identifies a place to return to; do not add the marker itself to your stitch count. If you cannot identify which stitch to mark, consult the actual explanation in the references before proceeding.
Move it to the new first stitch in the next round
Work the remaining instructions as written and check the round’s stitch count against the pattern before moving to the next round. Once you have completed the first stitch of the next round, move the start marker to that new stitch. This is different from leaving it permanently where you first placed it. Here you are moving the marker whose job is to identify each round’s beginning. If other markers identify other positions in the work, keep their roles separate and follow the pattern. Finding the beginning does not establish that every increase, decrease or repeat within the round is correct.
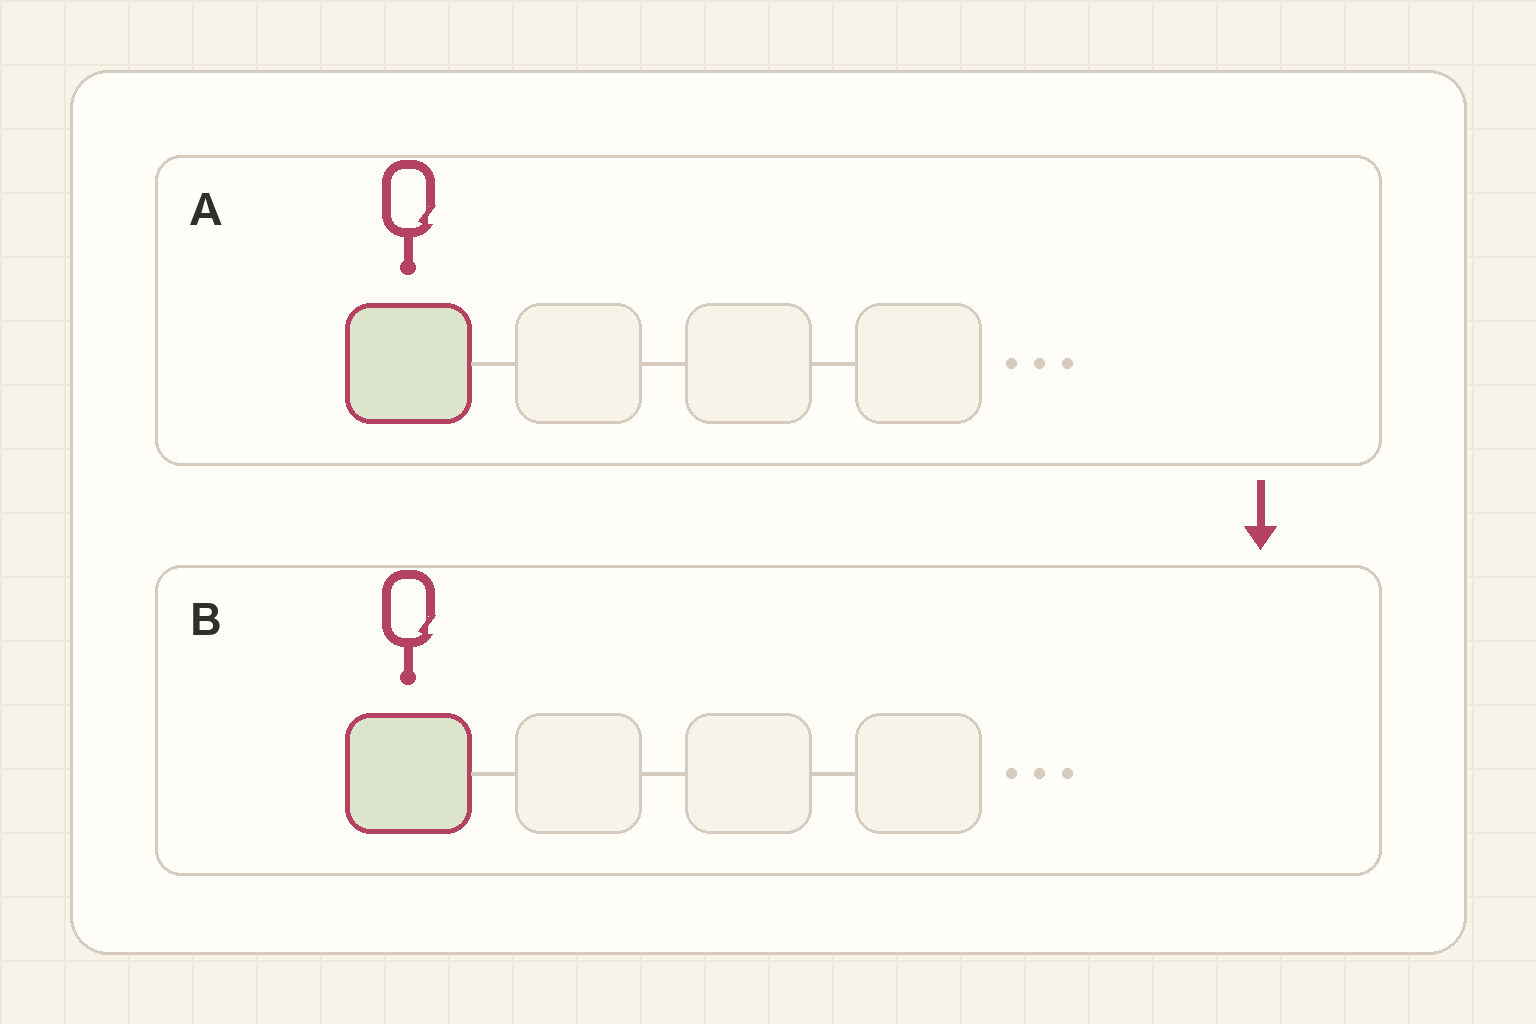
Original explanatory diagram by PocoPoco. A and B are different moments in successive rounds, illustrating relocating the same start marker to the new first stitch. They do not instruct you to use two markers at once or show a completed-round count. The boxes and ellipses are not actual stitches, a stitch chart, hook insertion positions or directions, or an app screen. Record completed rounds separately from marker position
Just after moving the marker to a new first stitch, you have begun that round. Do not record that round as completed merely because the marker moved. In a note or similar record, distinguish the pattern round you are working from the last round you confirmed complete. Add “in progress” when pausing partway through. Record completion after working to the round’s end and checking its stated count and instructions. If the marker position, record and stitch count disagree, do not add an unrequested stitch to make them match. Establish the difference before continuing.