
POCOPOCO JOURNAL
What should you keep in a project photo record?
Give a whole-piece photo, a detail and an orientation note separate jobs. Make it easier to connect a photo with the project it shows later.
About a 3-minute read
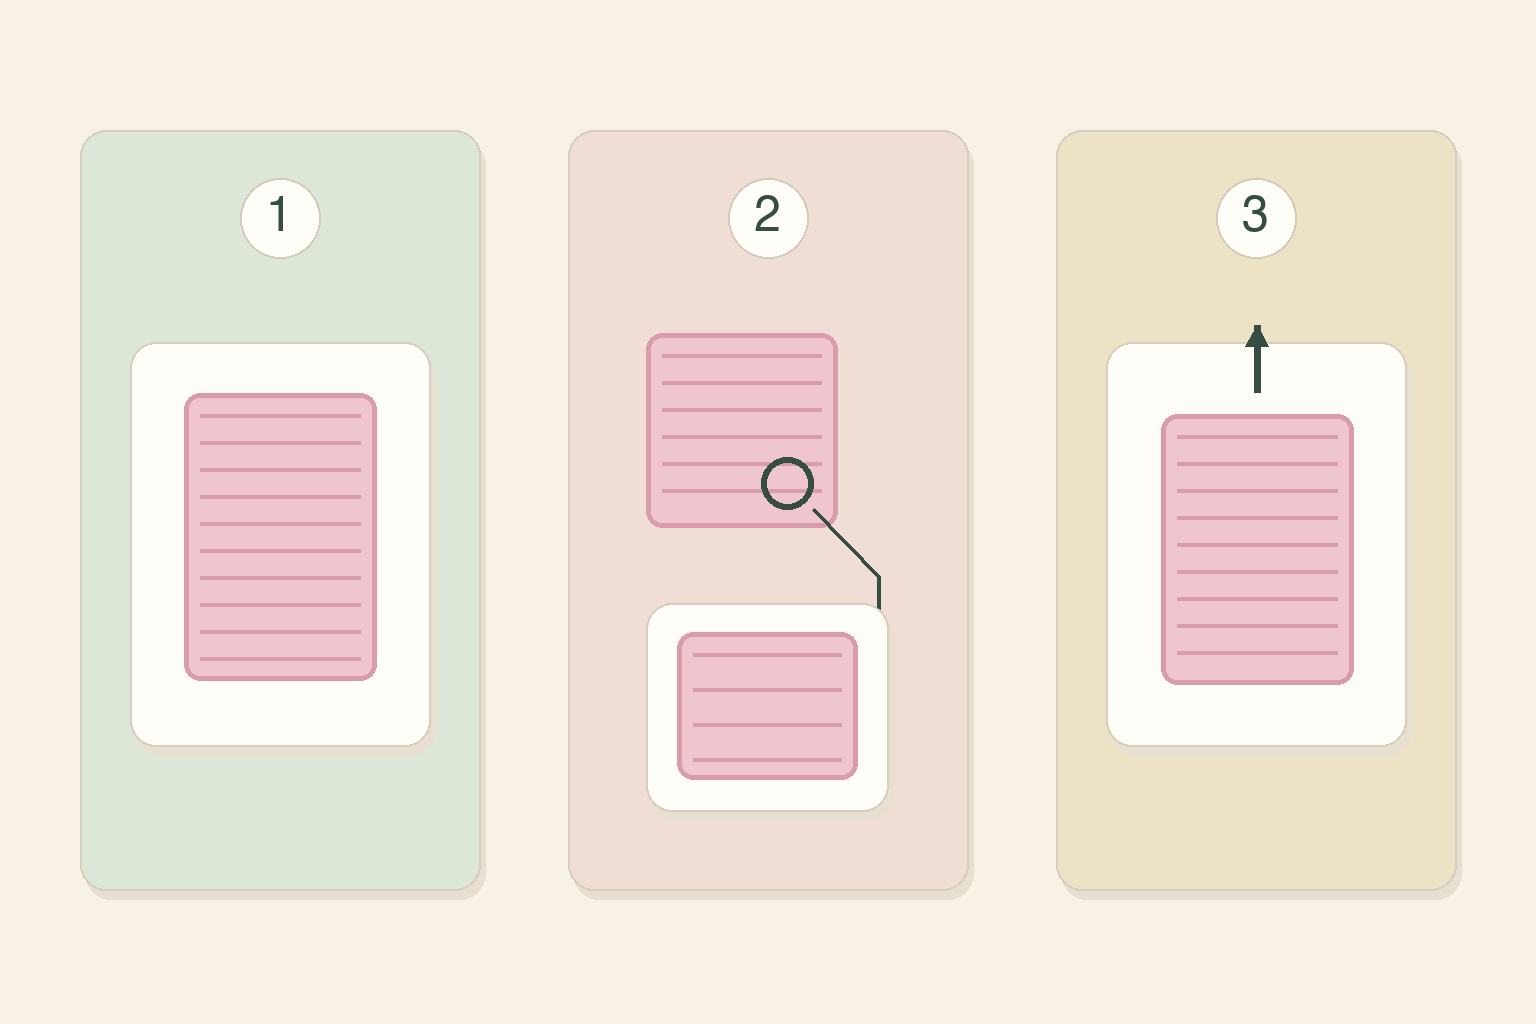
You photographed your work in progress, but later you cannot tell which project or part the picture shows. Before taking more pictures, give each one a job. This is an original organizing exercise for recognizing the state of a knitting or crochet project later. It is neither a lesson in attractive project photography nor a way to diagnose stitch errors. Connect the whole piece, a detail and its orientation, then add a project name and capture date. Try it with one existing project without buying special photography equipment.
Start with one view of the whole piece
Step back enough to include the outline of the piece you are making. Note which component it is, such as an unfinished sleeve or front panel. There is no need to stretch the work or move its stitches just for the photograph. The whole-piece photo gives you a place to locate the next detail picture. If another unfinished project appears in the background, arrange the view so you can recognize the intended subject. A piece looking bigger in a photograph is not evidence that you have made it physically larger.
Leave a clue to the detail’s location
Choose one area you want to revisit and take another picture around it. It could be a section of a stitch pattern you like or somewhere you want to check against your instructions. If a close view loses its location, include an edge or corner you can connect with the whole-piece photo. Add a description such as “beside the corner” or “near the yarn end” if useful. Record a concern as something to check rather than declaring it an error from the image alone. Check the actual work and your instructions separately when verifying stitches or counts.
Connect the top of the image with the piece
Compare the whole and detail views, and briefly describe which edge you placed at the top of the photograph. Use something you can find on the actual piece, for example, “edge with the yarn end at the top of the photo.” You may note which side is showing if you know; leave it unresolved rather than guessing. The top of the photo does not determine the direction to work in the pattern or how the finished item should be worn. If you later rotate or crop an image, check that its orientation note still matches.
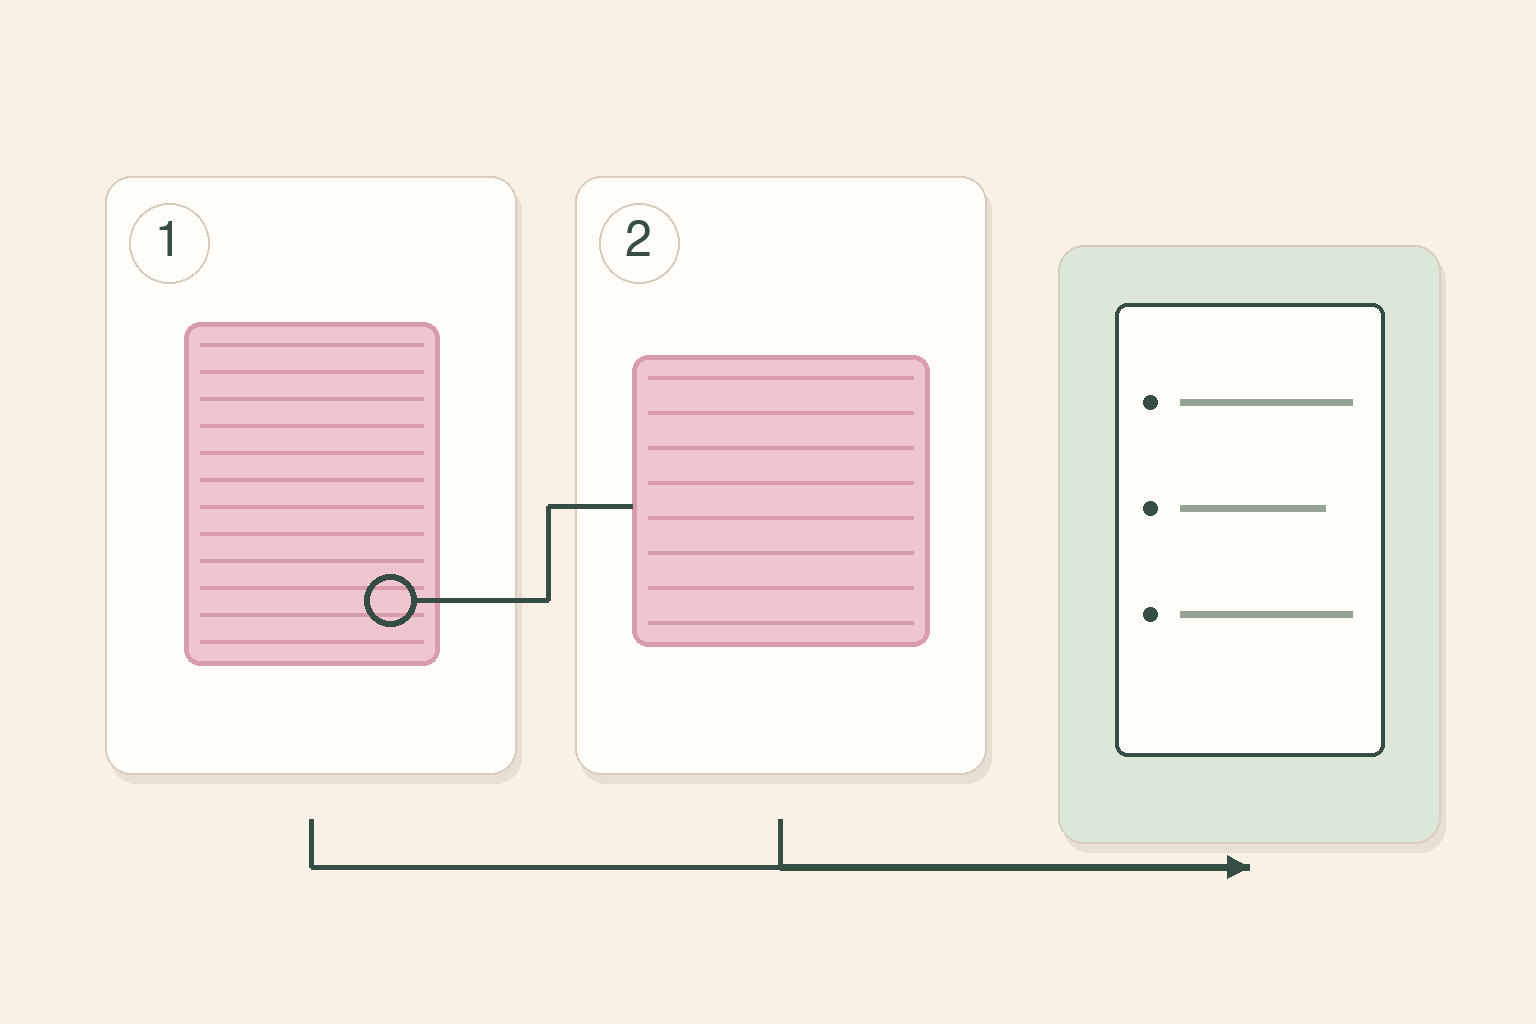
Original organizing schematic by PocoPoco. Frames and abstract lines illustrate keeping two pictures and a short note as one set. It is not an actual project photograph, stitch chart, accurate colour or size reference, or app screen. Keep both pictures with a name and date
Keep the whole and detail views as one set with the project name and capture date. Use any arrangement that lets you revisit the pictures and short descriptions together. Add the component name when several pieces belong to one project. For later pictures, you might use the earlier set as a reminder of a similar framing and orientation. Even then, pictures alone do not establish an accurate comparison of physical dimensions or yarn colour. Keep verified stitch counts, row counts or measured lengths in writing when needed. Use photographs as clues in your record, alongside actual measurements and instructions.